Summertime Décor
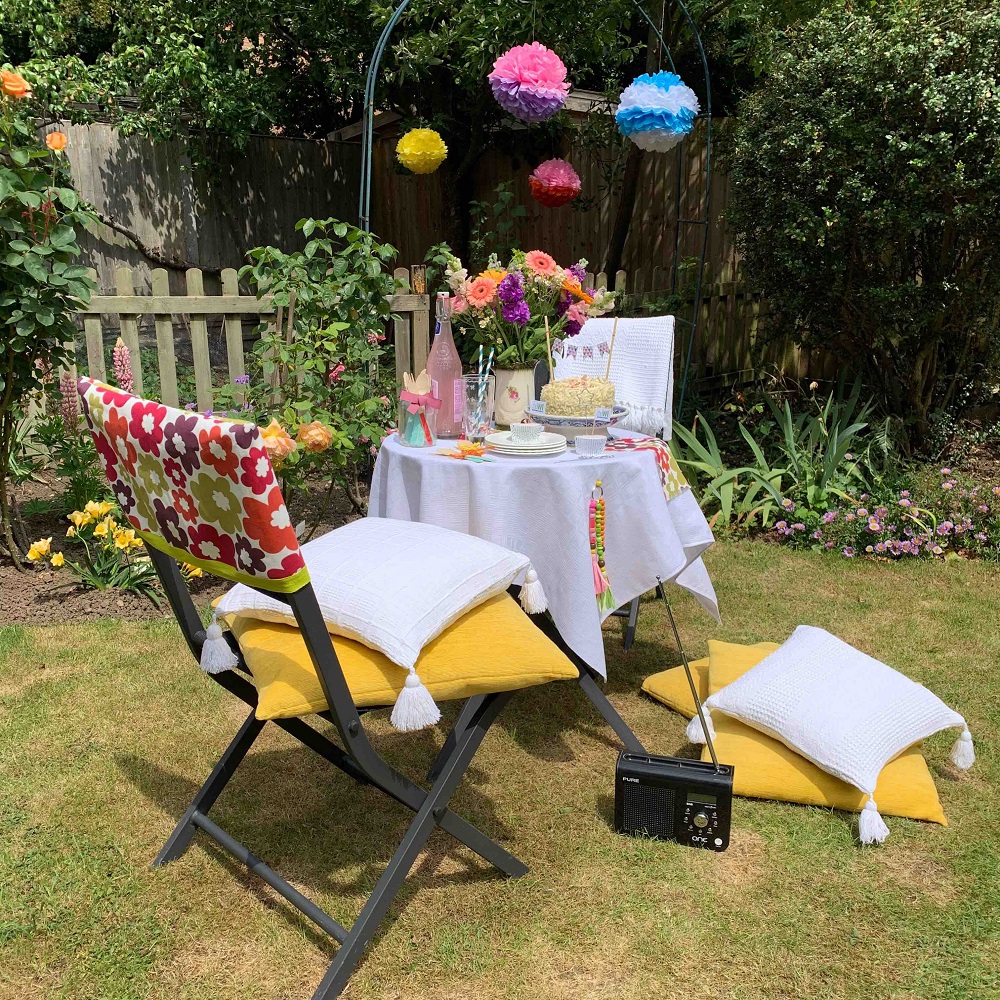
The Table
Set the scene with a beautiful ‘tablescape’ using an eclectic mix of dishware, painted wooden utensils and mismatched accents – here’s how to make some of our quick and easy details.

Skill level: Beginner
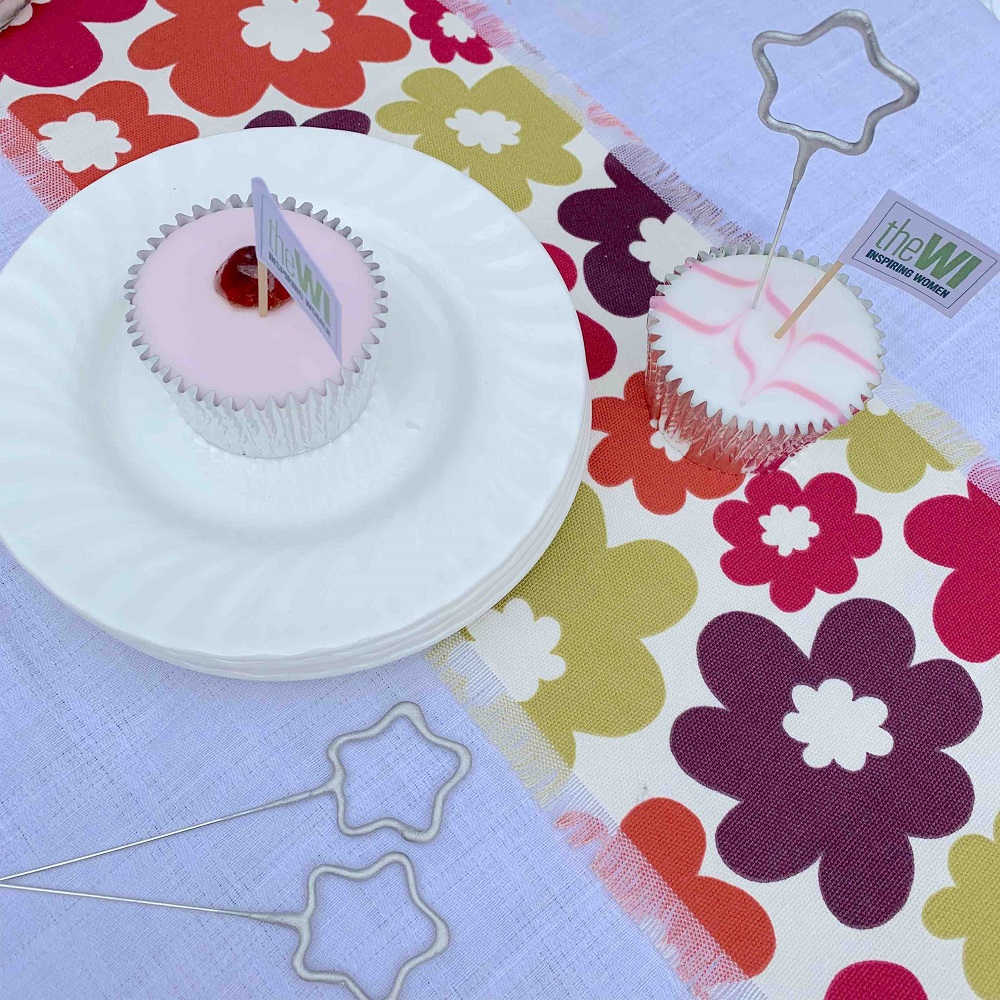
The Table Runner
Add a flash of vibrant colour to your tabletop with a handmade floral table runner.
1. Decide on the length and width that you want your finished table runner to measure – ours was the width of the fabric x 26cm.
2. Now choose your fabric: a heavyweight curtain fabric such as 100% printed cotton or a cotton/linen union is the best choice, as the threads are courser and will allow you to fay the edges more easily.
3. Cut a length of fabric to these dimensions, making sure that your piece is cut exactly on the straight grain on all sides otherwise the frayed edges won’t look even and nice.
To find the straight grains: Make a snip in the fabric selvedge (the selvedge is the firmly woven self-finished edge that runs lengthwise down each side of a fabric). Take hold of a couple of fabric threads that run across the fabric, and pull gently on them, gathering up the fabric and sliding out the threads until you get to the other edge. Cut off the pulled thread. You can now use the line created, as a cutting guide and know that your fabric is cut on the straight grain. Do this for all edges of your runner.
4. Once you have four straight edges to your fabric, you can start to pull away the threads from the edges to create a fringe to your desired depth. Work on one side at a time and don’t be tempted to pull away too many threads at one time, especially down the long edges, otherwise, it may knot up.
Tip: This method can also be used to create your own table napkins.
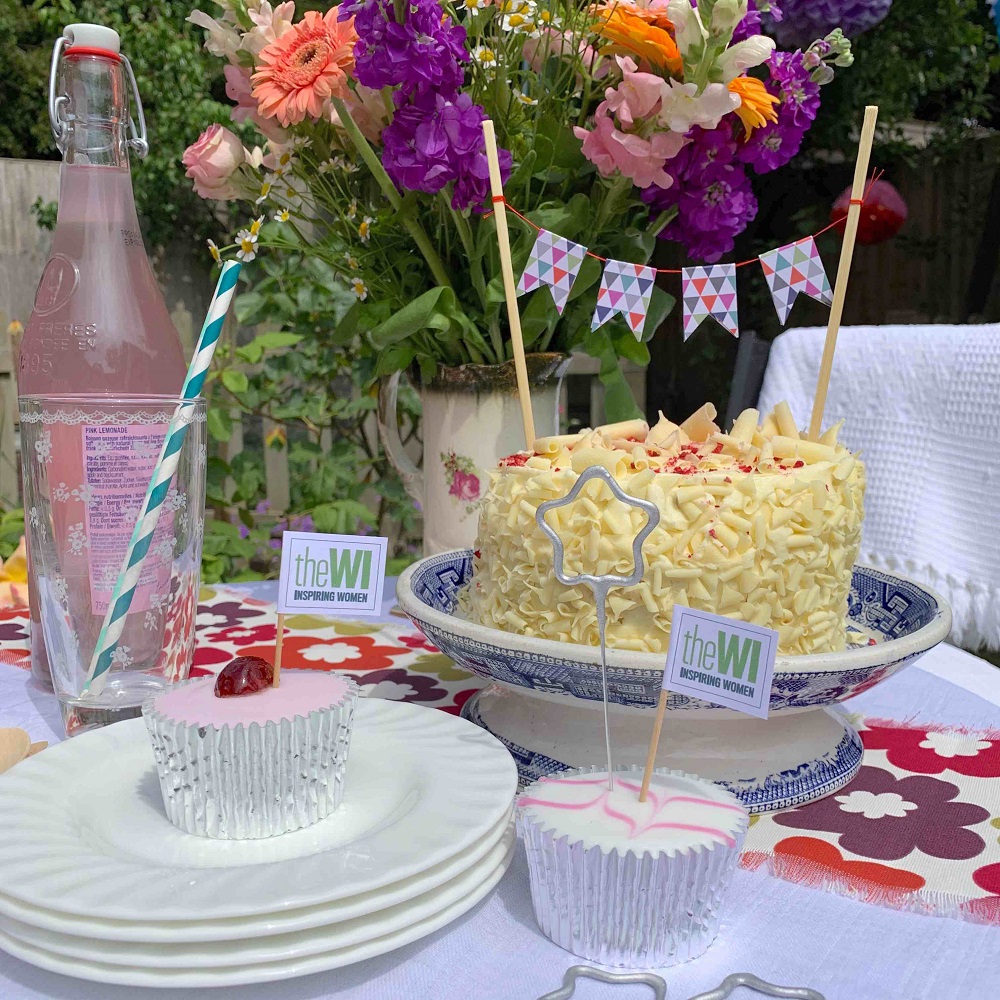
Cake Bunting, Flags and Floral Straws
These little WI flags and miniature bunting are so easy to make and add a fun finishing touch to your food.
Cake Flags
Download our little WI Cake Flags, print out on white paper and cut out. Wrap around cocktail sticks and glue in place.
Bunting
Use the WI Cake Flags as a template and cut out four flags from a brightly patterned card or paper, we used an old birthday card. Fold templates in half and cut out a ‘V’ section into the short open sides.
Knot a doubled-length of sewing thread to two wooden skewers and hang the flags over the thread, like on a washing line. Glue to hold in place.
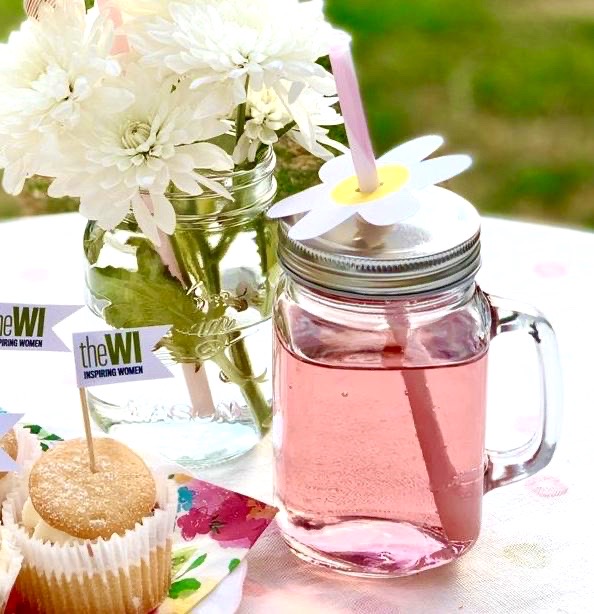
Floral straws
Take a piece of card and cut out a flower shape, decorate the flower with pens as you wish. Cut a cross shape into the centre of the flower and insert your straw.
Decorative Cutlery
If you choose disposable cutlery, make sure it is environmentally friendly. We love wooden cutlery as you can paint the handles in different colours to match your décor.
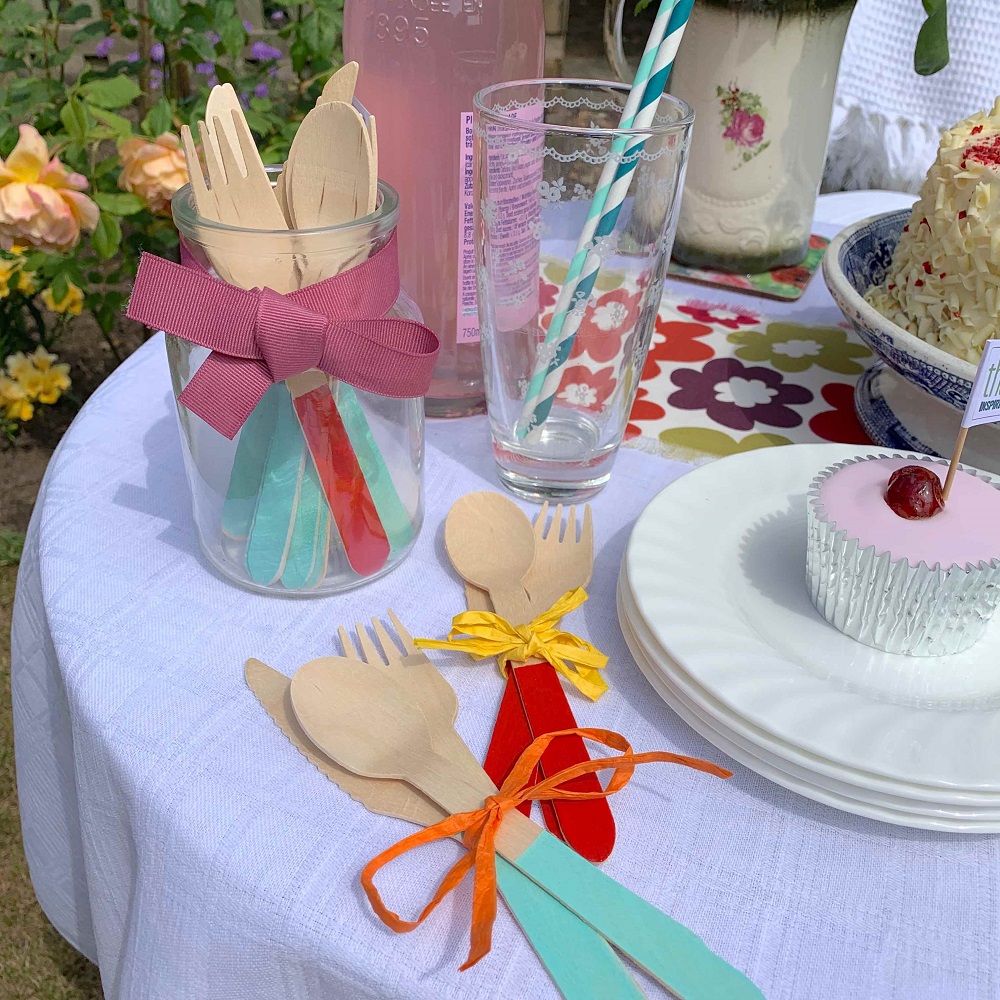
Stack them in recycled glass jars with pretty ribbon bows, or alternatively, tie sets together for everyone, using brightly coloured paper raffia.
Sitting Pretty
Don’t forget your chairs! You’ve created a beautiful table, so complete the look with vibrant, patterned seatbacks.

1. Measure the depth of your chair back and add 2.5cm for hems. Cut out a piece the width of your fabric, by this depth.
2. With wrong sides facing, fold the fabric in half bringing the two short edges together. Pin the fabric layers together along one long side edge.
3. Place the pinned fabric piece over the chair back, and pin down the short side edge to fit the chair back. Remove fabric from the chair.
4. Trim away excess fabric down the short side edge, to leave a 1.5cm seam allowance beyond the pin line. Machine stitch the fabric pieces together along both pinned edges, taking a 1.5cm seam allowance and leaving the bottom edge open. Remove pins and neaten the seamed raw edges together. Turn cover right side out.
5. To finish off the lower edge, neaten the raw edge and then, stitch on a contrasting coloured ribbon, braid or bobble trim to decorate the edge. Press finished cover and slip over chair backs. To complete dressing the chairs, add contrasting cushions to the seats.
Tasselled Tablecloth Weights

To make these fun tablecloth weights, follow this link.
Party Pompoms
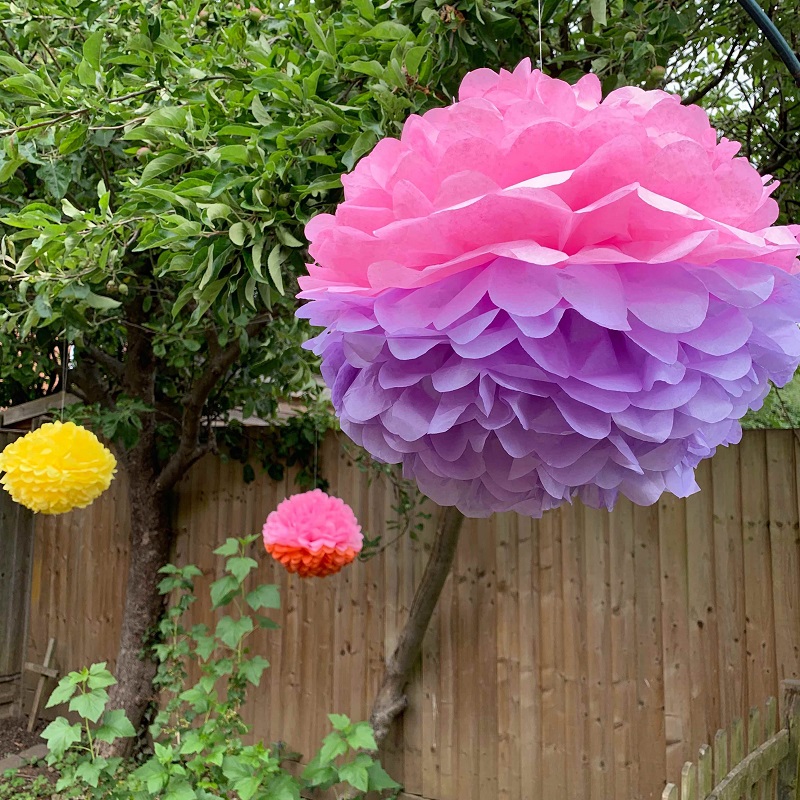
To complete the look, festoon your space with these gorgeous paper pompoms. To make, follow this link.
Project by Jane Bolsover, Craft Consultant, NFWI