Scrunchie
Scrunchie
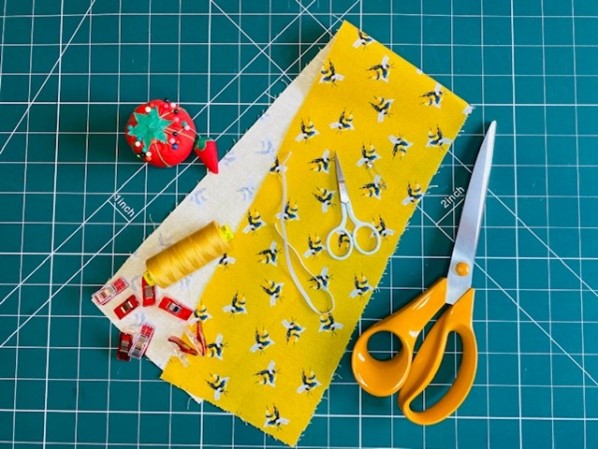
What you’ll need:
- Fabric (25.5” long x 5” wide)
- 3mm wide elastic (9.5” long)
- Thread
- Sewing machine
- Scissors
- Pins/clip
- Safety pin
Seam allowance is ¼“
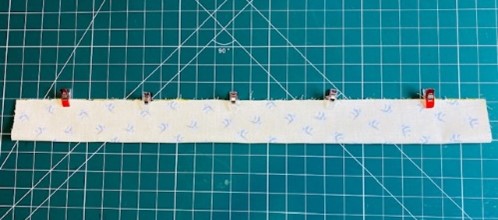
Step one
Pin or clip your fabric right sides together.
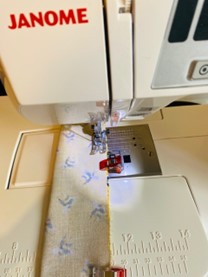
Step two
Starting approx. 1.5” from the top edge, stitch along the long side, and then stop approx. 1.5” from the bottom.
Tip – if it helps, use tailor's chalk to mark where you need to start and stop your stitching.

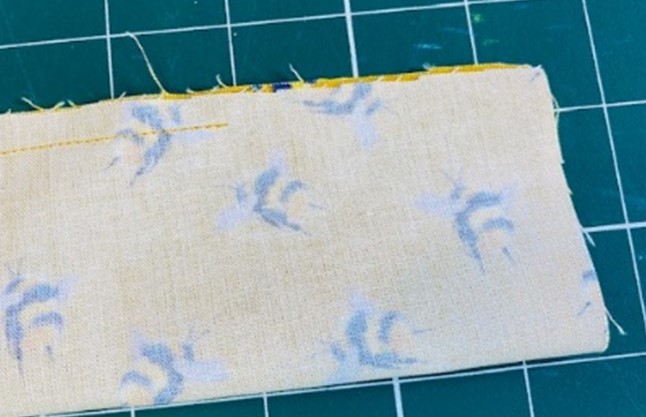
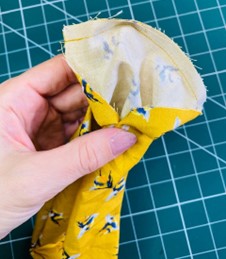
Step three
Turn the scrunchie tube so that the right sides are facing outwards.
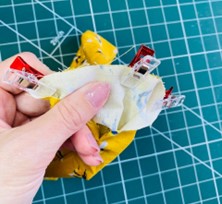
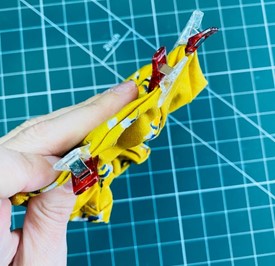
Step four
Take the ends of the scrunchie tube, and pin or clip them right sides together.

Once its pinned/clipped you will be able to see that you have connected the scrunchie tube to make a complete circle.
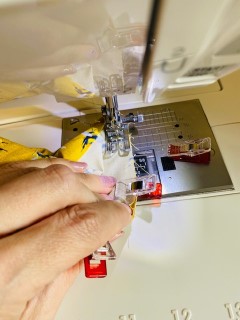
Step five
Stitch where you have pinned/clipped together.
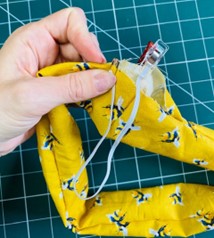
Step six
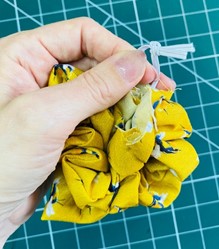
Using a safety pin, attach it to one end of the elastic and then thread the elastic through the opening in scrunchie tube.
Tip – secure the other end of the elastic to the opening so you don’t lose the other end of the elastic.
Step seven
Take both end of the elastic and then tie a knot to secure.
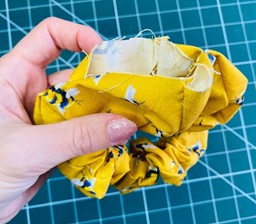
Step eight
To close the opening and hide the raw edges, fold the edges of the opening in and pin or clip together.


Step nine
Top stitch around the edge of the scrunchie, which will close the gap and give a nice finish.
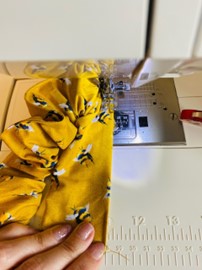
Tip – move the fabric so you always have a straight edge to work with to prevent the scrunchie from bunching up while you are stitching.

The finished scrunchie! Happy sewing!
Project by Hayley Raine-Diplock